exFAT vs APFS vs NTFS for an external drive
Updated
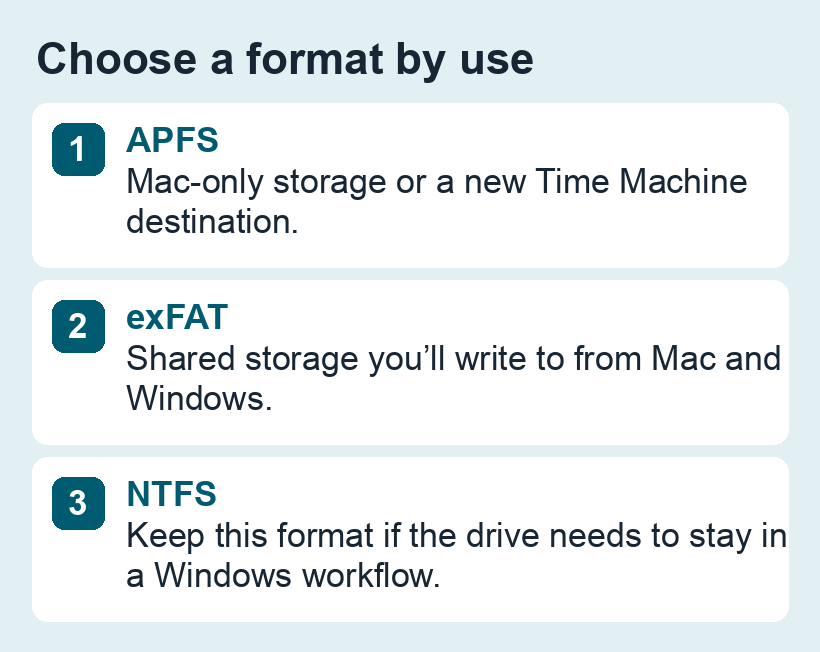
Use exFAT for a drive you need to write to from both Mac and Windows, APFS for a modern Mac-only drive, and NTFS when the drive needs to stay compatible with a Windows workflow.
| Use | Format | Check first |
|---|---|---|
| Move large files between Mac and Windows | exFAT | Check compatibility if a camera, TV or console also needs the drive. |
| External storage for modern Macs | APFS | Use APFS (Encrypted) if you want password protection. Keep the password where you can recover it. |
| New Time Machine disk | APFS or APFS (Encrypted) | Use the Time Machine setup flow. It may offer to erase the selected drive. |
| Existing Windows drive | Keep NTFS if Windows needs it | Mac can usually read it. For write options, see how to use an NTFS drive on Mac. |
For a drive shared between Mac and Windows
exFAT lets you edit files from either computer and handles files over 4 GB, such as video exports and disk images. Eject the drive in Finder or Windows before unplugging it, and keep a separate copy of important files. For an older device with its own format requirements, follow its manual and test with a spare drive.
For a Mac-only SSD or a backup disk
Choose ordinary APFS for a Mac-only SSD unless you specifically need encryption or case sensitivity. APFS distinguishes those as separate choices in Disk Utility. Check compatibility before sharing the drive with older Macs. Apple documents the options in its Disk Utility format guide.
For a new Time Machine destination, Apple prefers APFS or APFS (Encrypted). Use a dedicated backup drive when possible so your working files and your backups sit on different devices. See the disks Time Machine supports before reformatting an existing backup.
How to change an external drive’s format
Erasing deletes everything on the selected drive. Copy your files to a different physical drive or computer, open a few of the copies, and keep that backup while you test the new format.
- Open Disk Utility and select View → Show All Devices.
- Under External, choose the physical drive by its name and capacity. Double-check that it is the intended drive, especially if several are plugged in.
- Click Erase. Choose the format and a name. For modern Macs and PCs, choose GUID Partition Map unless a device manufacturer specifies a different scheme.
- After erasing, copy a sample file onto the drive, eject it, and try reading and writing that file on every device you intend to use. Restore the rest of your files once the test passes.
For screenshots and the exact menu labels in your version of macOS, see Apple’s steps for erasing a storage device.