How to set up Time Machine on an external drive
Updated
Set aside a separate external drive for Time Machine, add it in System Settings, then wait for the first backup to complete. Restore one sample file afterwards so you know how to retrieve it.
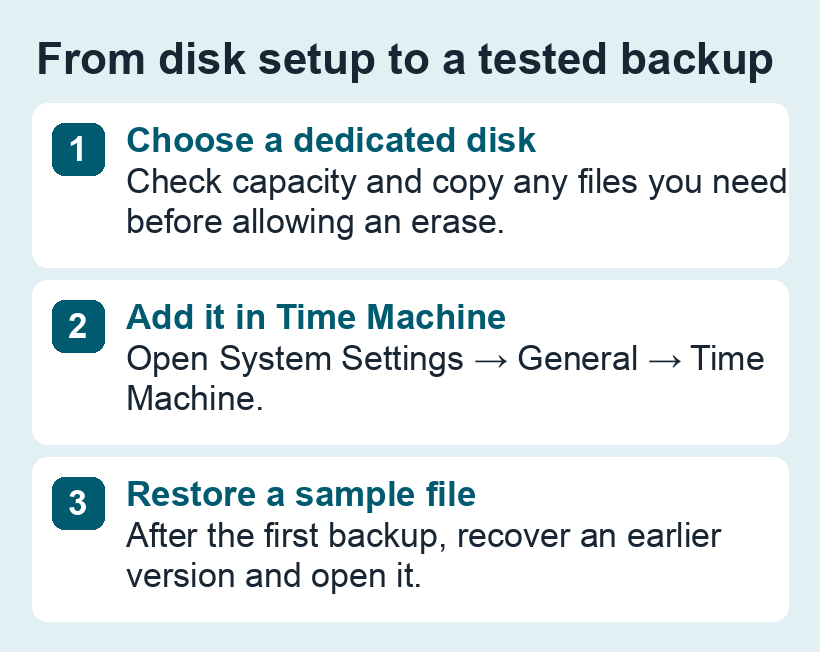
1. Pick the backup drive
Apple recommends a drive with at least twice the storage capacity of your Mac. A Mac with a 1 TB internal drive is a good fit for a dedicated backup drive of 2 TB or more. If you plan to include external source storage as well, allow room for that data and older backup versions. Check Time Machine exclusions to see what will be included.
For a new backup disk, Apple prefers APFS or APFS (Encrypted). The setup flow can prepare a suitable disk. If the disk contains files, first copy those files elsewhere and verify the copies. If the disk contains older backups you still need, choose a different drive for the new setup.
2. Add the drive in System Settings
- Connect the backup disk directly to the Mac. In macOS Ventura or later, open System Settings → General → Time Machine.
- Choose Add Backup Disk or the plus button. Select the intended drive by name and capacity, then choose Set Up Disk.
- If setup offers to erase the drive, confirm only if you have identified the correct disk and saved anything you need from it. If you enable encryption, keep the password in a place you can access even if this Mac is unavailable.
3. Verify the first backup and a sample restore
Leave the drive connected until the first backup finishes. Check the most recent completed backup in Time Machine settings or the menu bar. For a source folder on a separate disk, check the exclusions and include a representative sample from that folder in your restore test.
Use the sample restore walkthrough to recover an earlier version of a disposable file and open it. A finished backup confirms Time Machine ran. Opening a restored file tells you whether that particular file and version are usable.
Keep the backup drive separate from your working files. If your active Photos library lives on an SSD, follow the Photos library guide and back it up to another device.
See Apple’s Time Machine setup instructions and supported backup disks.
If your working files are on a second drive, see how to include that external SSD in the backup and verify a restore.