How to back up an external SSD with Time Machine
Published

To check whether Time Machine backs up your external SSD, connect both the SSD that holds your files and a separate backup disk. Check the source SSD in Time Machine’s exclusions, then restore a sample file that originally lived on that SSD.
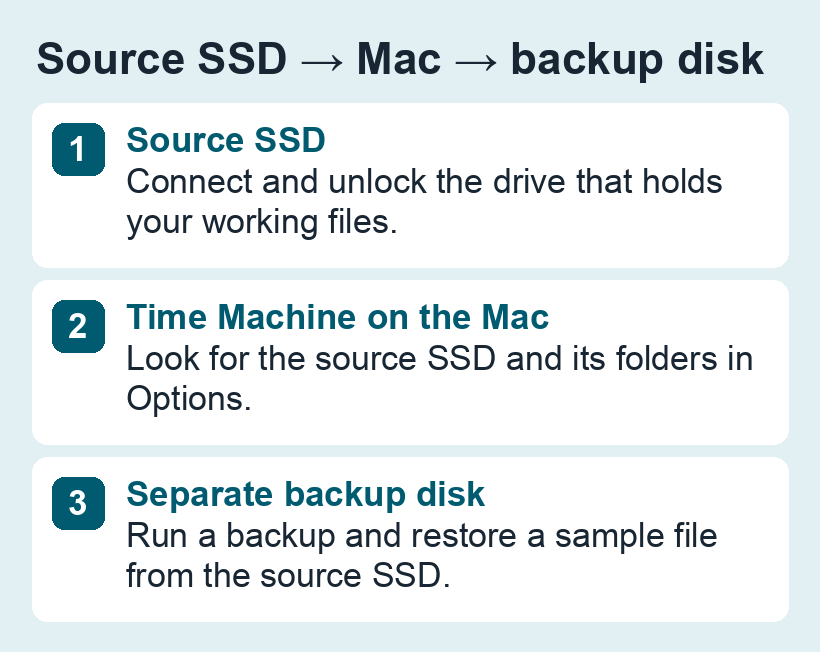
1. Identify the source and the destination
In Finder, note the names and capacities of both drives. The source is your working SSD. The destination is the disk where Time Machine writes backups. Keep them on separate physical devices so an SSD failure doesn’t take both copies. If you haven’t configured the destination yet, see how to set up a Time Machine disk.
2. Inspect the exclusion list
- Connect and unlock the source SSD if needed. Open System Settings → General → Time Machine → Options.
- Look for the source SSD and any excluded folders within it. If the SSD is listed and selectable, select it, click the minus button, then save. Time Machine automatically excludes the destination disk. Leave that entry alone.
- If you can’t remove the source from the list, check that it is mounted and inspect its format in Finder’s Get Info. Don’t erase it to make this step work. Copy the files separately while you investigate whether the source can be included.
Follow Apple’s instructions for Time Machine exclusions.
3. Restore a file from the source SSD
- On the working SSD, create a test folder and a text file with a distinctive line. Leave both disks connected and run a backup. Note the completed backup time.
- Move the test file to a different folder. Open the original test folder on the SSD, enter Time Machine and select the backup you just made. Restore the sample and open it.
- If the sample isn’t there, check the backup date, whether the SSD stayed connected and unlocked, and whether the test folder was excluded. Retry with a new backup after correcting what you found.
A sample restore confirms that the selected file and version are available. For a Photos library, also check for referenced originals outside the library. Moving Photos to an SSD and testing a Time Machine restore cover those adjacent steps. For a version-by-version example, follow our steps to restore an earlier copy.