How to move files from an old Mac when they won’t open
Updated
If you can see a file on your old Mac but a newer Mac can’t open it, treat the transfer and the conversion as two separate jobs. First save a complete copy. Then find a way to open that copy or use the old app to export it.
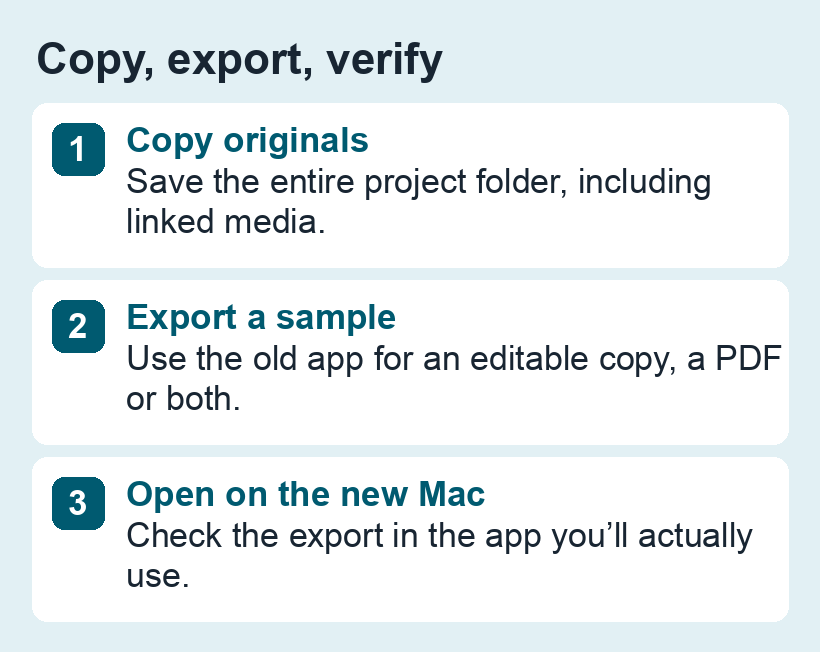
1. Copy the original before changing anything
- If the old Mac starts, use Finder to copy your documents to a separate disk. For projects with linked media, copy the whole project folder and its assets. Keep library packages intact. If you see cloud-only items in iCloud Drive, download them and wait for the download to finish.
- If you can start the old Mac but Finder isn’t usable, follow our guide to transferring files between two Macs with a cable. It covers Target Disk Mode on Intel and Share Disk on Apple silicon. Check cable requirements for both Macs.
- If you only have a Time Machine backup, look for the file in the backup or use our Migration Assistant walkthrough to transfer the relevant user account from that backup.
Keep the original and the working copy separately. If the transfer disk is writable on Windows but read-only on Mac, check the format and permissions before considering an erase.
2. Work out what no longer opens
| Symptom | Next step |
|---|---|
| The old application won’t launch | Check whether it was a 32-bit app. macOS Catalina and later can’t run 32-bit apps. If the app still runs on the old Mac, do the export there. |
| The newer app rejects the file | Check the extension in Finder’s Get Info window. Look up the vendor’s supported import formats. If it requires an intermediate version, work on a copy and keep the original extension. |
| The project opens with files missing | Copy the linked assets and use the app’s relink or collect function, if available. Test again before exporting. |
| The file is missing or incomplete | Look for an earlier intact copy in Time Machine or in the source folder. Conversion can’t supply missing media or restore a truncated file. |
3. Export for the job you need to do next
Open a sample on the old system. For a document, export a PDF if you need to preserve how it looks, and an editable copy if you need to keep working on it. For example, when an iWork document opens in its app, our guide to exporting to Word, Excel, PowerPoint and PDF. CSV is useful for tabular values. Keep the source workbook if you need formulas, formatting or multiple sheets. For a photo library, export photo originals and edited copies separately if you need both.
4. Verify on the new Mac
- Open the export in the app you actually plan to use. Check a document’s last page, a spreadsheet’s formulas and totals, or the first and last seconds of a media file.
- Test a second file with different features before converting a whole folder. If the conversion is lossy, keep the original and note which app and version could still open it.
- Keep the old Mac or a usable copy of its data until you’ve checked the important exports and backed them up.
See Apple’s 32-bit app compatibility guide. Before copying cloud folders, use our iCloud Drive download checklist.